
Skip to product information
1 of 3

Custom Scouts

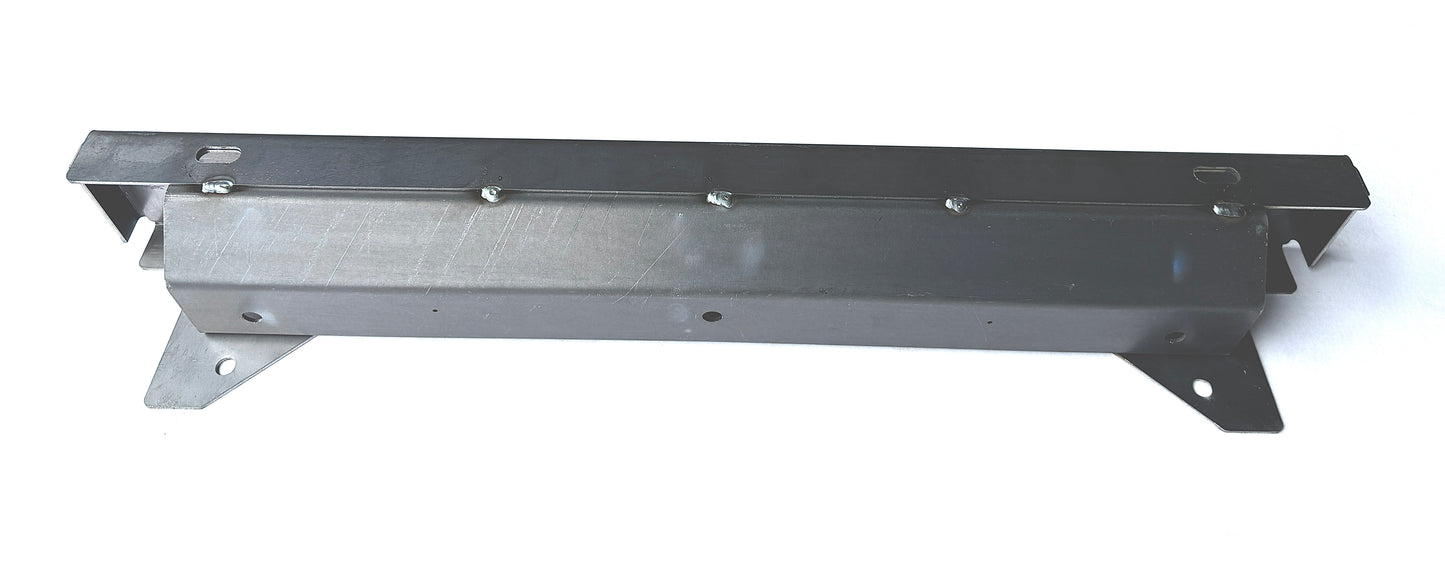
Heavy Duty Front Frame Crossmember - Scout II

Heavy Duty Front Frame Crossmember - Scout II

Regular price $402.00 CAD
Regular price $402.00 CAD Sale price $402.00 CAD
Sale Sold out
Shipping calculated at checkout.

Rust doesn't just look bad — it eats away at the structural integrity of your Scout's front end. If your original crossmember is damaged, pitted, flaking, or thin from decades of corrosion, it's no longer doing its job the way it should.

Our Custom Scouts front crossmember is built to outlast the original by far. We use overlapping material thickness in key stress areas and add internal gussets for extra rigidity — making this the strongest front crossmember on the market, full stop.

Built to factory dimensions, so your original front bumper bolts right up with no modification needed.

Easy to assemble, only taking about 15 minutes, with no measuring required.
Kit comes complete with picture instructions for assembly.

KEY FEATURES:
- Overlapping material thickness in high-stress zones for maximum strength
- Internal gussets for added structural rigidity
- Factory-correct dimensions — original bumpers slide right on
- Raw steel finish — weld-ready, no paint removal needed                                                    - Easy Install

Product Details

Your Kit Includes

“Zero Rust” Benefits

Do the job once and never look back again. Ever!

Adds value to your restoration by resisting rust like nothing else.

Easy to weld.

Weight & Dimensions

Extra Considerations

Not Included

View full details
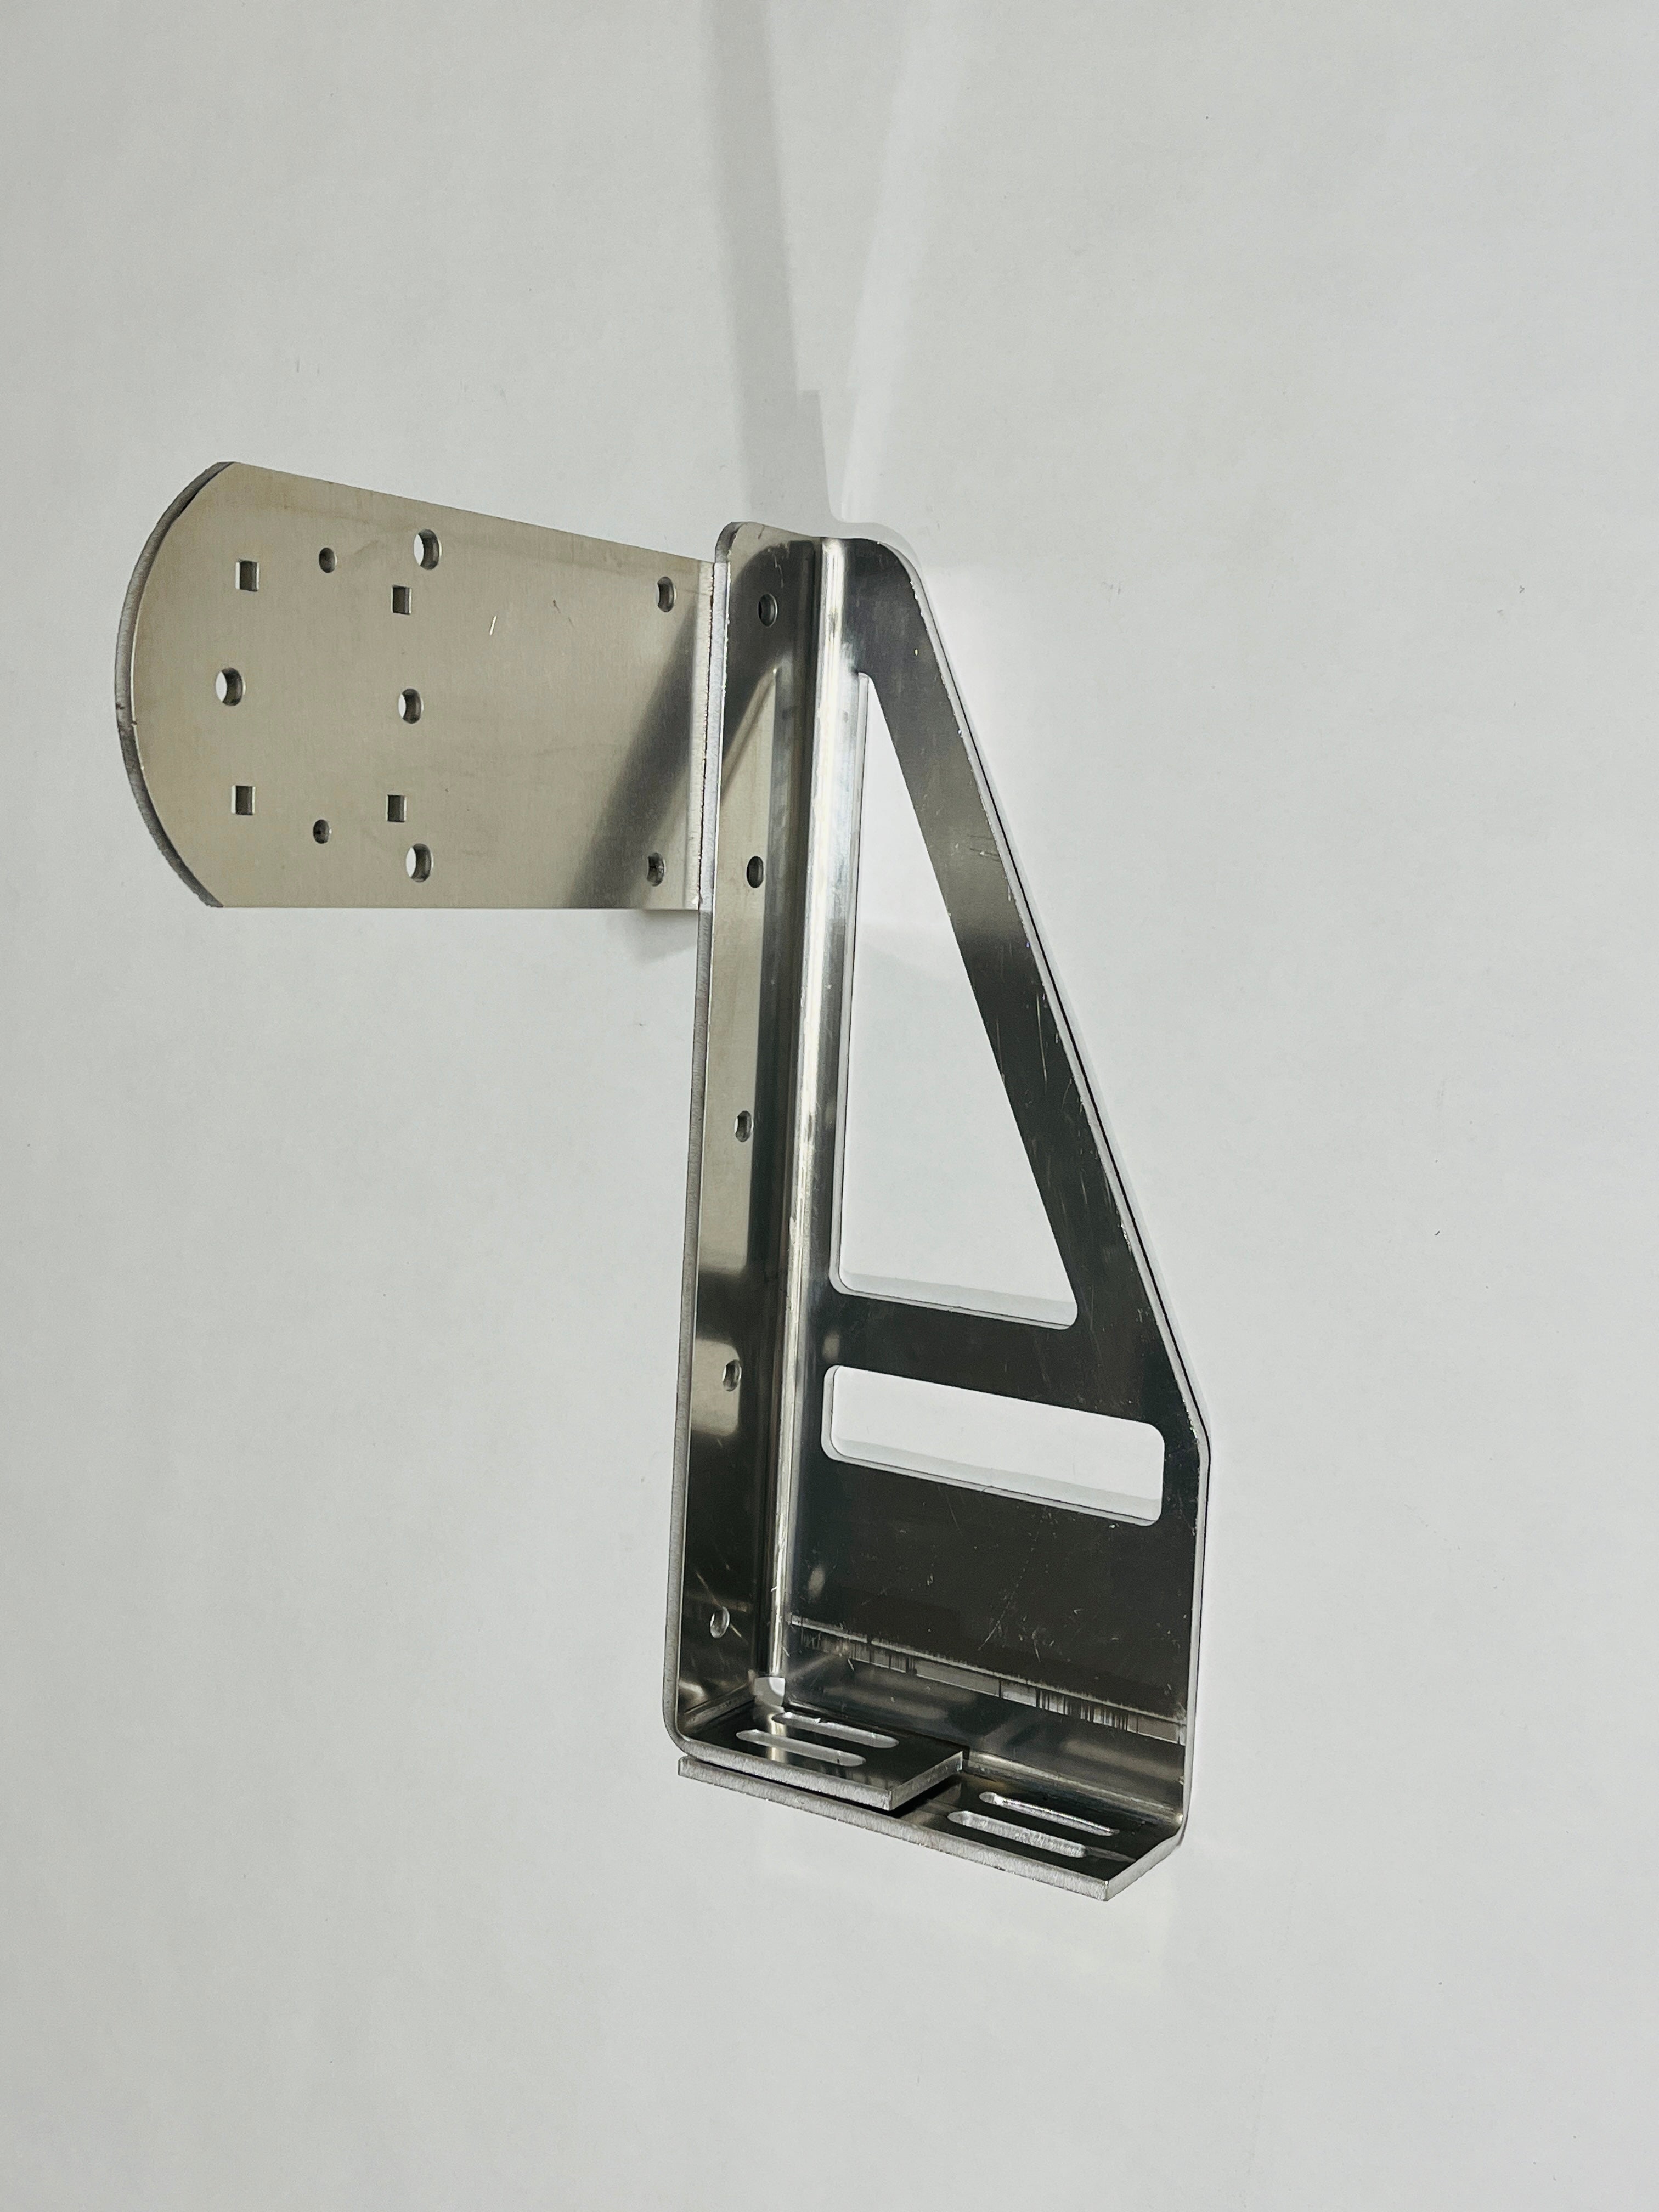
  • Classic Jerry Can/ROTOPAX Mount Bracket

    100% Aluminum. This allows you to mount either a ROTOPAX container or our 20L Jerry Can Mount to your project. Use this bracket for any project or with our modular tire carrier bumper with NO accessory plate.
    View details 
  • Title

    Description

    View details 

Assembly made easy

Weld yourself a finished product.

All our products are made quick to assemble and install with our intuitive design and easy to read instructions. Just

1. Align the tabs. Weld together. 3. Install and done!