Custom Scouts
Modular Tire Carrier Bumper Single Swing Arm
Modular Tire Carrier Bumper Single Swing Arm
Couldn't load pickup availability
If you have already purchased our modular tire carrier accessory bumper and didn't purchase a swing arm when purchasing your bumper, or if you are putting together a custom tire carrier bumper, this kit is for you.
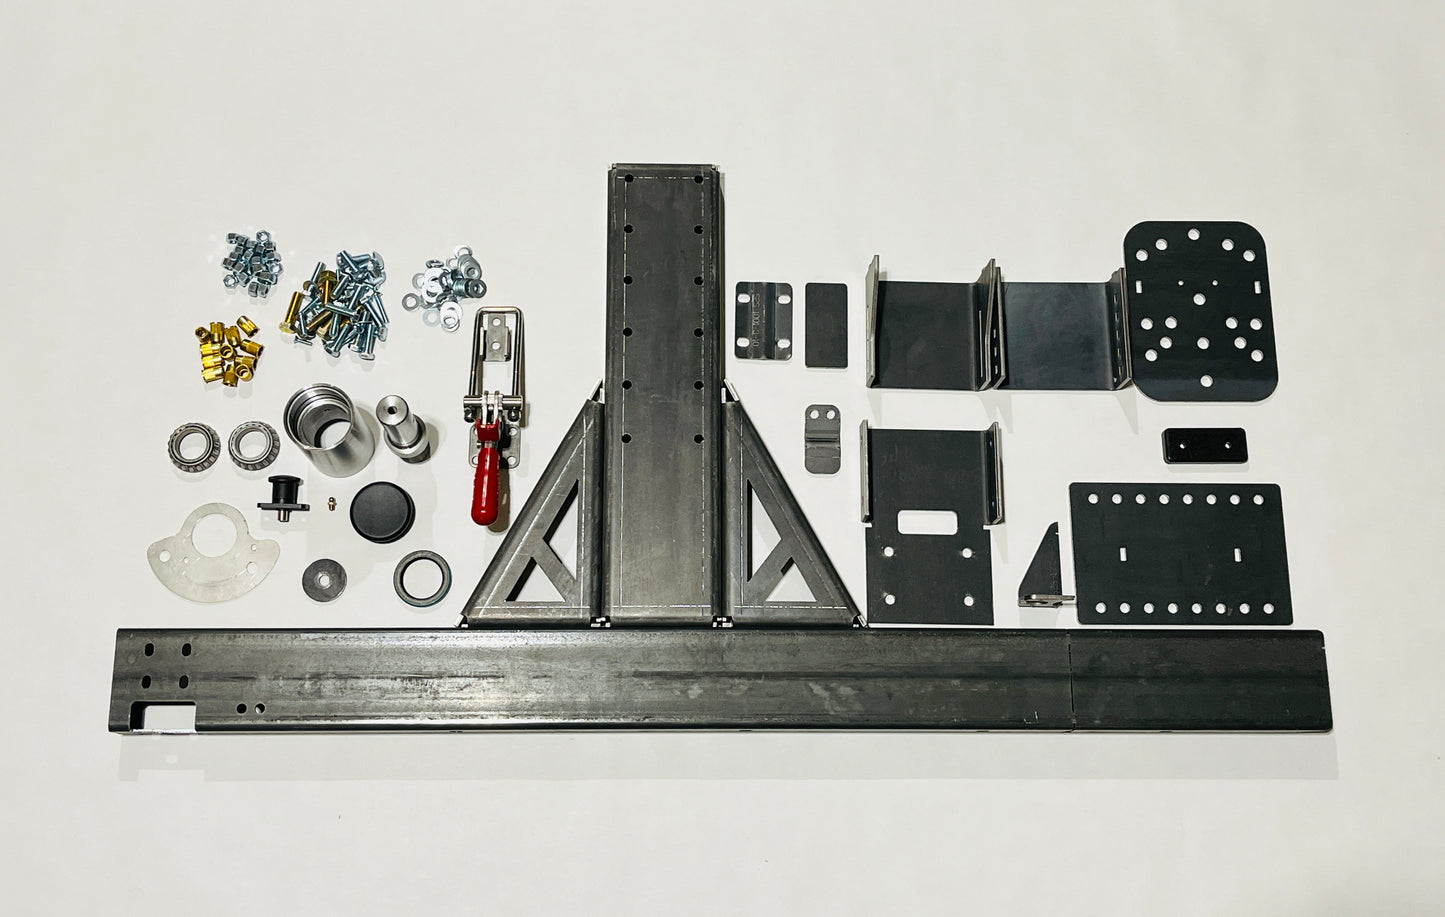
This swing arm kit comes with everything you see in the kit picture and requires NO cutting. All mounting holes for our modular off-road accessories (Jerry can/ROTOPAX mounts, Front and rear jack mounts etc)(sold separately) and our included adjustable spare wheel/tire mount, heavy duty stainless steel latch and license plate relocation brackets are already laser cut, taking all the measuring and guess work out of adding this swing arm to your bumper base.
Order Steel Or Aluminum ---- Welded or as a DIY Weld-It-Yourself kit.
- Swing arm
- Custom Machined Spindle Assembly
- Bearings
- Seals
- Spring Pin And Plate For Locating Arm
- All Needed Hardware
- Heavy Duty Stainless Steel Latch
- Stainless Steel Spring Locating Pin
- Stainless Steel Spring Pin Plate
- Vertical Wheel Mount
- Vertical Wheel Mount Support Braces
- Adjustable Wheel Mount (CO-1016)
*Whether purchased welded or not, the upright parts of the arm have to be bolted together by the customer.
Product Details
Product Details
Your Kit Includes
Your Kit Includes
“Zero Rust” Benefits
“Zero Rust” Benefits
Do the job once and never look back again. Ever!
Adds value to your restoration by resisting rust like nothing else.
Easy to weld.
Weight & Dimensions
Weight & Dimensions
Extra Considerations
Extra Considerations
Not Included
Not Included
Share

Pairs well with
-

Classic Jerry Can/ROTOPAX Mount Bracket
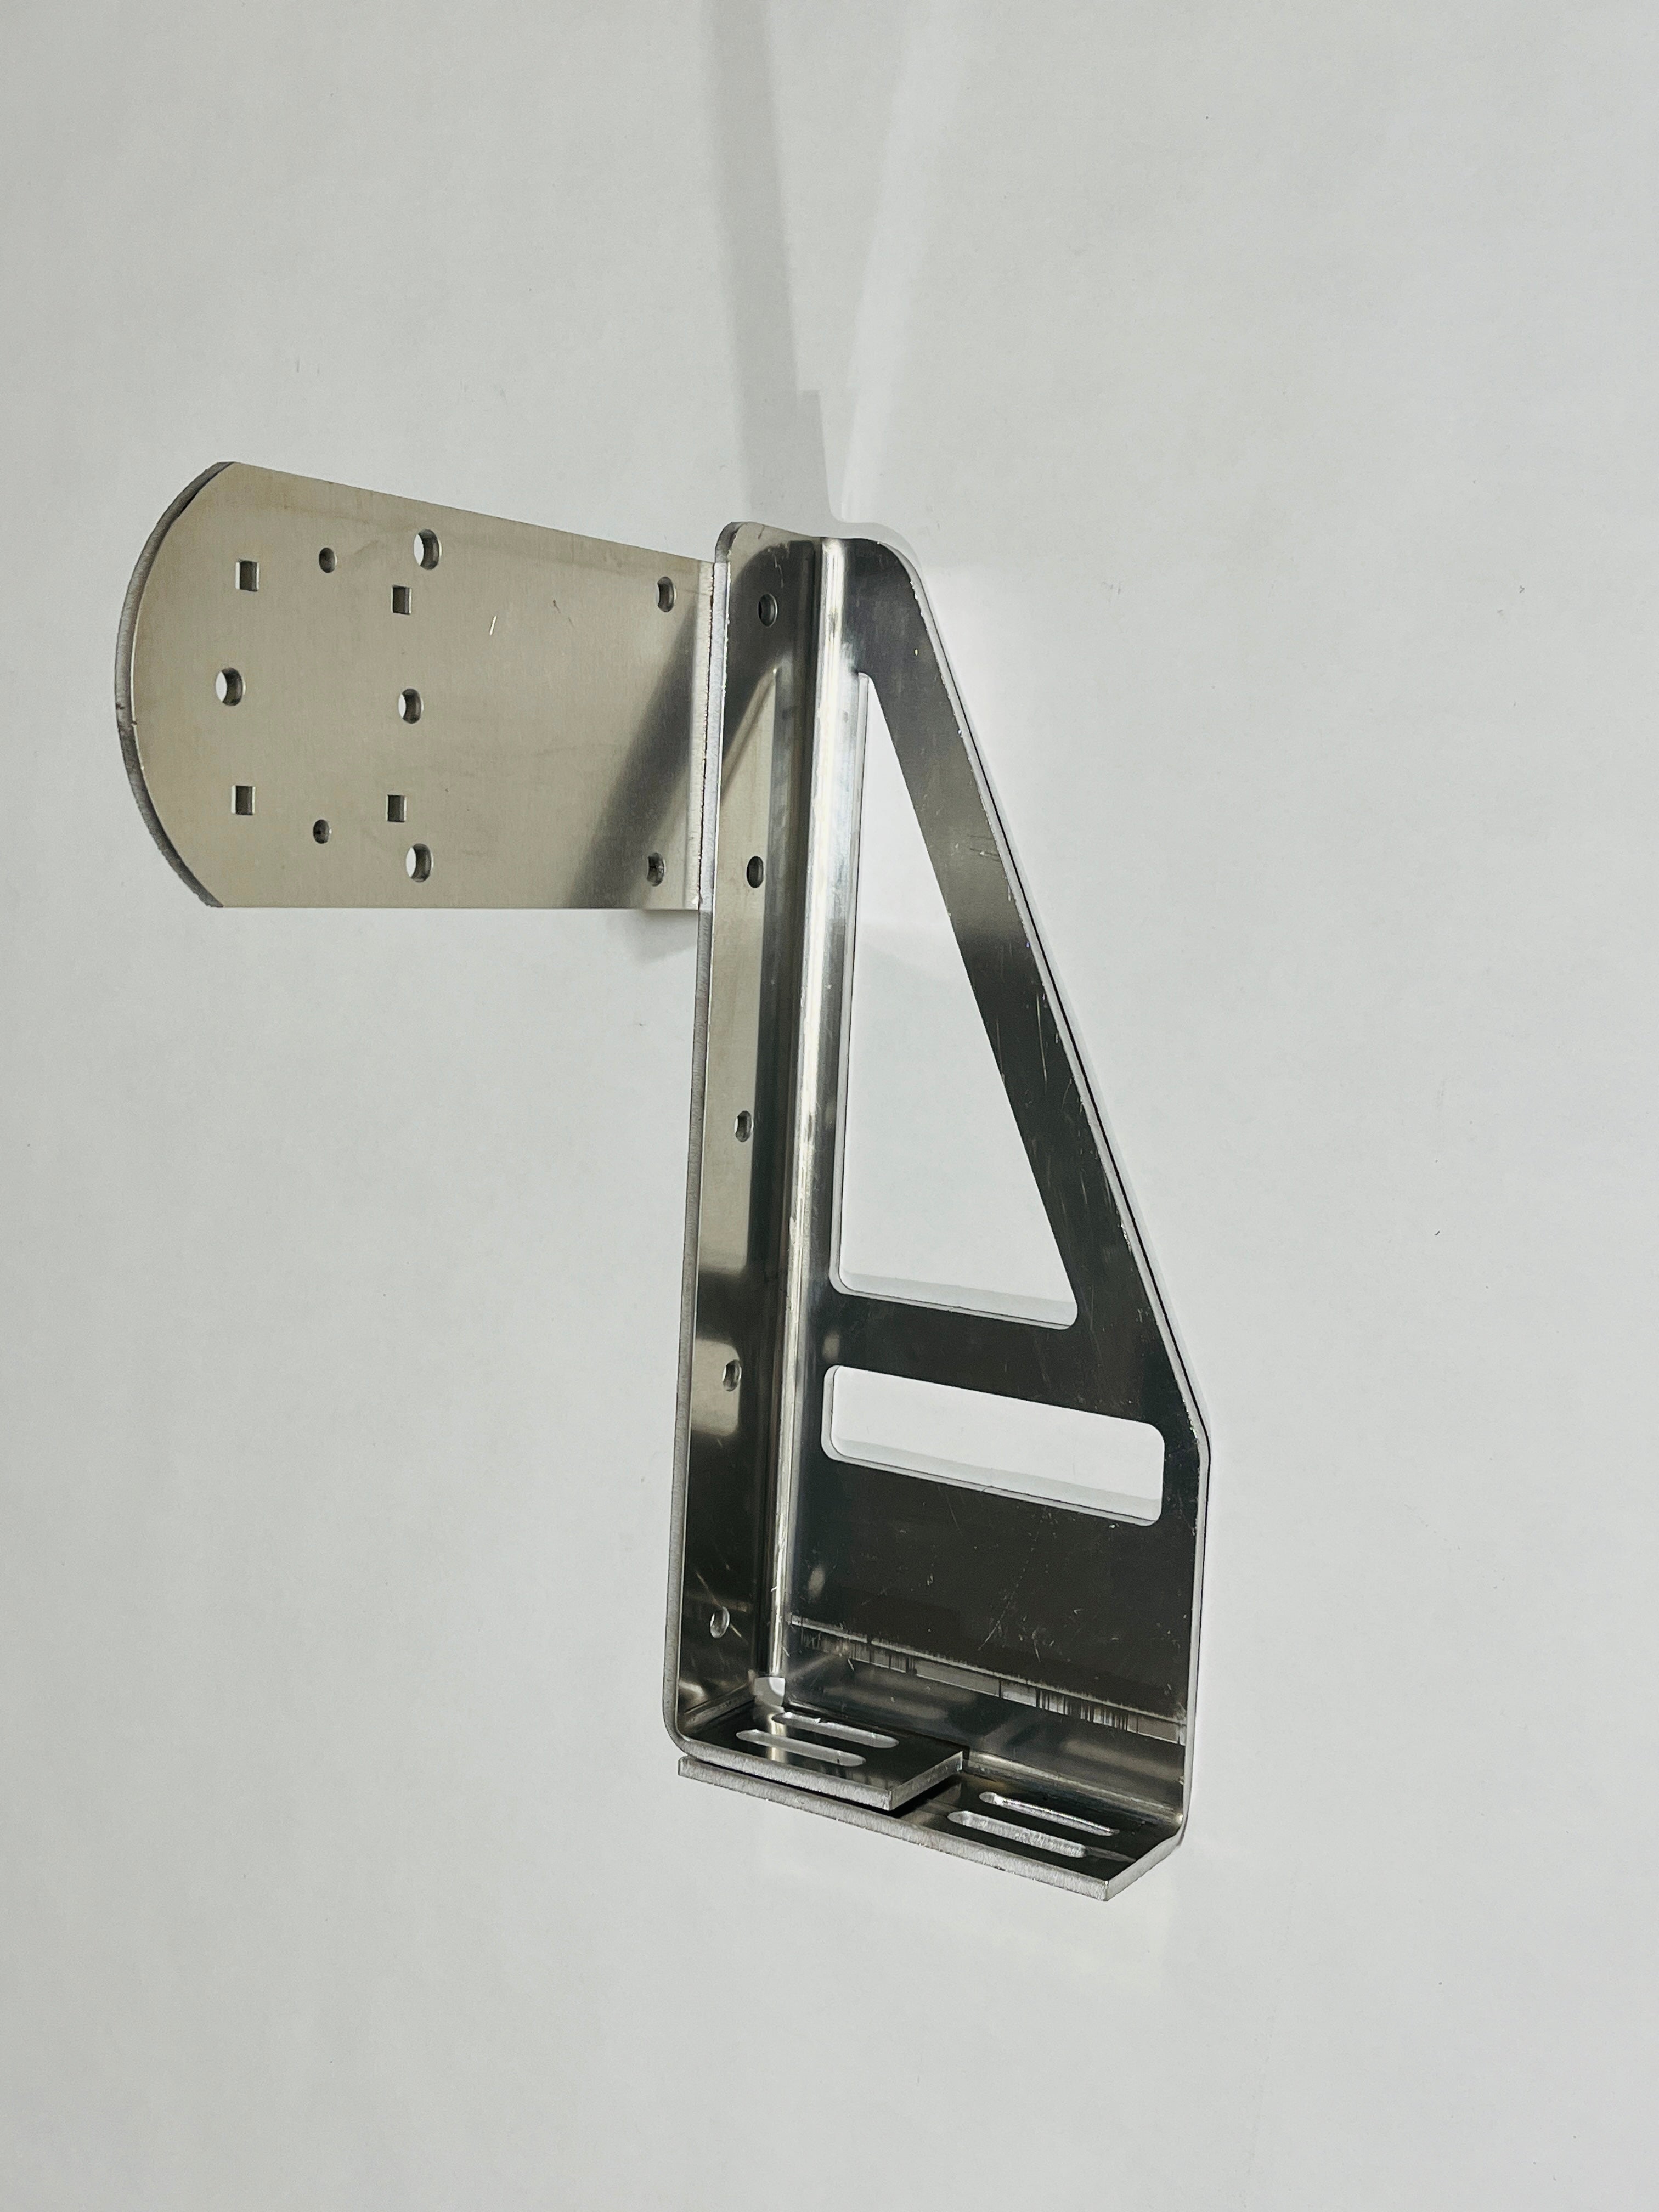
View details100% Aluminum. This allows you to mount either a ROTOPAX container or our 20L Jerry Can Mount to your project. Use this bracket for any project or with our modular tire carrier bumper with NO accessory plate.
-
Assembly made easy
Weld yourself a finished product.
All our products are made quick to assemble and install with our intuitive design and easy to read instructions. Just
1. Align the tabs. Weld together. 3. Install and done!
Let's keep in touch.
Be the first to know about new parts and products and exclusive offers. Also, receive 5% off your next order when you sign up.


